How to Cut & Cone Torsion Spring
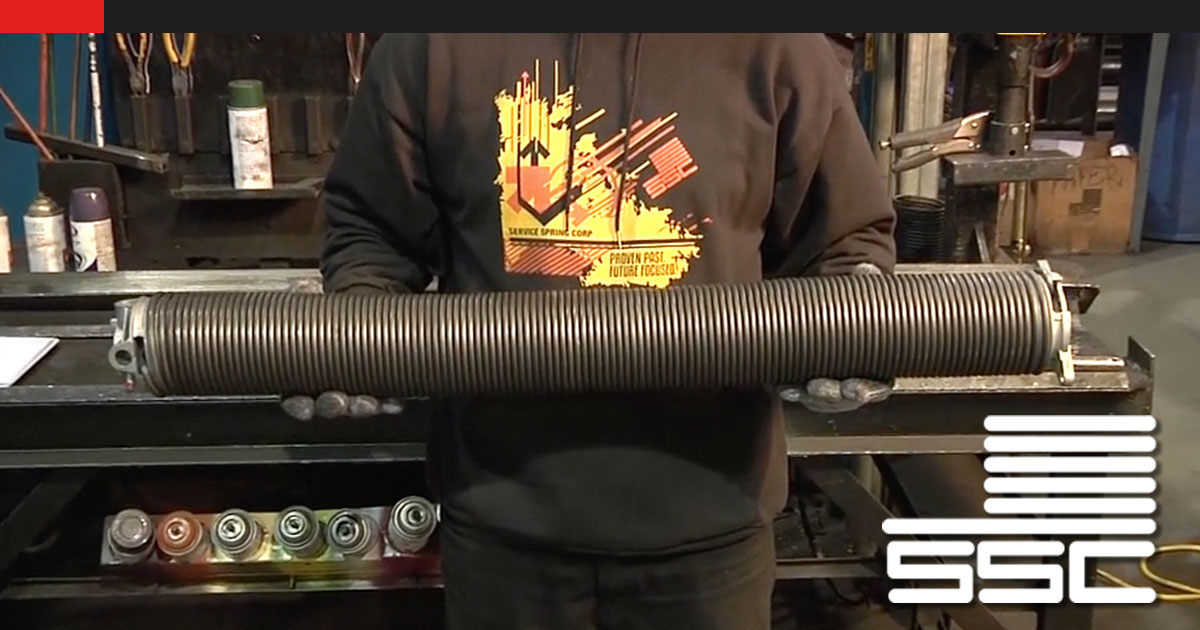
In this how-to guide from SSC Solutions Education, we look at how to cut & cone torsion spring. You might be wondering why you need to know this if the torsion spring comes from the manufacturer complete with everything installed? There may be times when you need to alter the new spring from what you have in stock.
To cut and cone a torsion spring manually you will need:
- A spring spreader tool
- A torch to cut the wire
- A bench vise
- Winding bars
- A straight opener arm
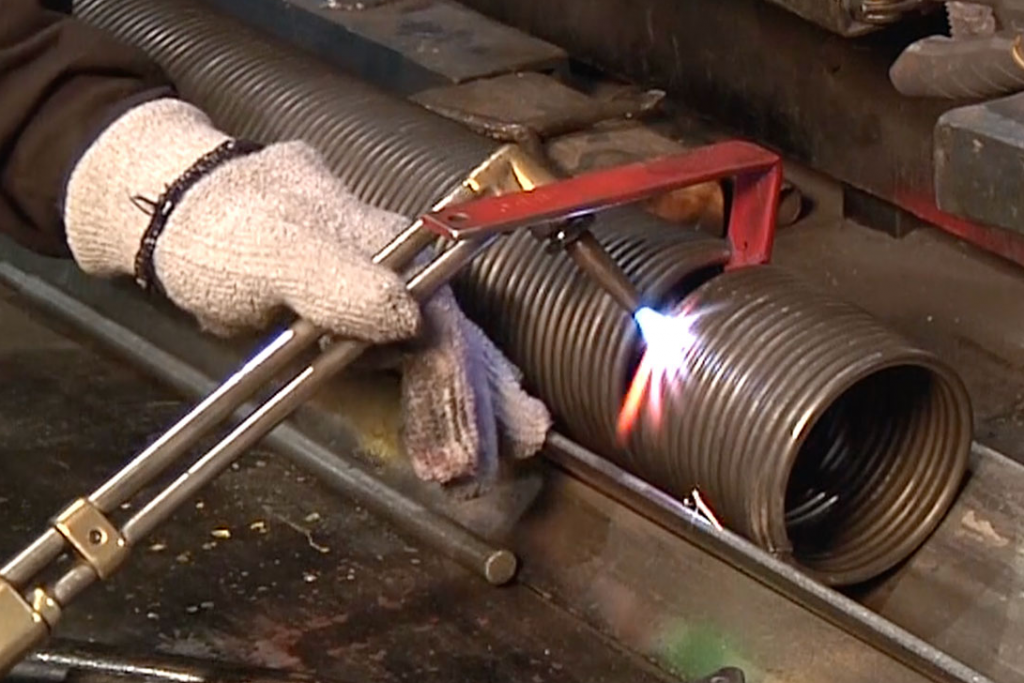
The best and most common way to cut through garage door spring wire is to use an oxygen & acetylene torch or something similar.
The wire needs to be heated and cut carefully in order to prevent damage to the surrounding coils. This is where the spring spreader tool comes in handy. Use this to separate the last coil you are cutting from the others.
Now, with the spring cut to the length needed, we can add the cones. You will need to secure the spring into a bench vise as you will need to apply a lot of torque to the spring.
Start with the winding cone and the spring secured in the vise with approximately 5 to 6 inches extending past the vise. The cone is wound in the opposite direction of the wire. If your wire is pointing down, you will want to wind your cone in the up direction to secure it.
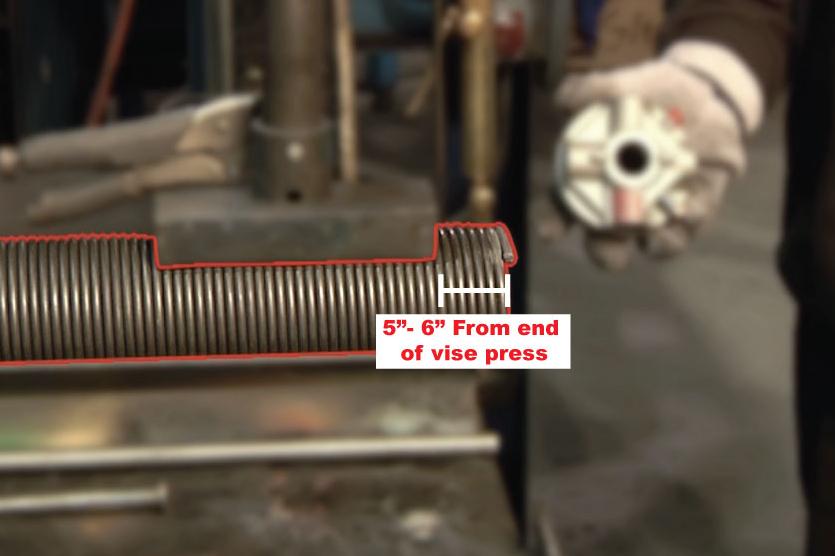
First, start the cone by hand and then use the winding bars to finish. Be sure not to overwind the cone and check that it is not too high or low on the cone.
With the winding cone complete, we can carefully release and flip the spring to install the stationary cone. Again, be sure to leave 5 to 6 inches extending past the bench vise. There are many ways to wind a stationary cone, but the best way is with a piece of straight opener arm. Place two, 3/8” nuts and bolts through the arm and into the stationary cone. Tighten the bolts and use the arm as a lever to tighten the cone. Be sure not to over or under tighten.
PRO TIP: BE SURE TO BEND YOUR SPRING WIRE ENDS INTO THE SLOTTED PORTION OF THE CONE.
Lastly, inspect the entire spring for correct installation.
We hope this guide was helpful to you and your technicians. Knowing how to cut and cone a torsion spring is a valuable skill that all garage door technicians should know.
To watch this full video and other helpful videos, be sure to check out all of Solutions Education courses.
Are you signed up for Solutions Education? All courses are free to garage dealers and installers. Invite your employees follow this guide.
(*Must be a registered company of SSC to access the above registrations = Register Here)
Related:
Share:
Safety Disclaimer: In order to see all procedures completely, there may be safety measures that are not taken by our actors. Be sure to follow any and all proper safety requirements and refer to your manufacturer’s installation manual for details. Your health and safety is the #1 concern. Failure to understand/follow the recommendations in the course could result in property damage, personal injury or death. While all efforts are made to provide accurate information and guidance, it is impossible to predict all door circumstances. Accordingly, the user agrees that the user of this video; products and information contained herein are at your own risk. In no event shall Service Spring be liable for any property damage, personal injury/death, or any other loss or damage that may result from your use of the information and products provided on this video. All information contained within this site is provided “as-is” without warranty expressed or implied. User assumes all responsibility/risk for use of information and products purchased. If you have any doubts about your ability to perform the work safely, we recommend you contact another door professional to complete your repair.
